Embarking on a DIY installation of engineered wood flooring offers a gratifying opportunity to enhance your home with added warmth and elegance. By meticulously preparing and focusing on detail, you can attain a high-quality finish akin to professional installation, all without the expense.
However, it’s essential to understand the steps involved and be aware of common mistakes to avoid a successful outcome. In this guide, we’ll walk you through the steps of DIY-engineered wood flooring installation and highlight key pitfalls to watch out for.
Table of Contents
ToggleStep 1: Preparation is Key
Prior to embarking on a DIY engineered wood flooring project, comprehensive preparation is vital. Begin by verifying that your subfloor is clean, dry, and even. Eliminate any previous flooring materials and rectify any irregularities or moisture-related concerns.
It’s also crucial to acclimate your engineered wood flooring to the room’s environment according to the manufacturer’s recommendations, allowing it to adjust to temperature and humidity levels.
- Common Mistake to Avoid: Neglecting Subfloor Preparation Skipping or rushing through subfloor preparation can lead to problems such as uneven flooring, squeaks, or premature wear and tear. Invest adequate time in meticulously preparing your subfloor to establish a sturdy base for your engineered wood flooring.
Step 2: Plan Your Layout
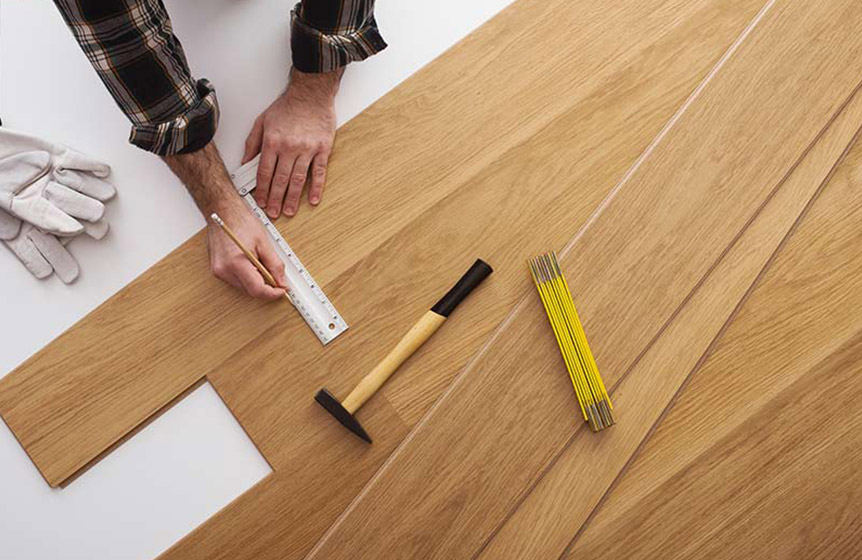
Before installing the flooring, make sure which pattern you want to lay out.
There are several patterns to choose from:
- Straight laying
- Herringbone
- Chevron
- Versailles Parquet
Consider the orientation of the planks, the direction of natural light, and any architectural features of the room. Start by establishing a reference line from which to begin laying the flooring, typically in the center of the room or along the longest wall.
- Common Mistake to Avoid: Ignoring Pattern Alignment Failing to plan the layout carefully can result in uneven spacing, misaligned patterns, or awkward cuts around doorways and corners. Take the time to map out your layout before starting the installation to avoid these issues.
Step 3: Install the Flooring
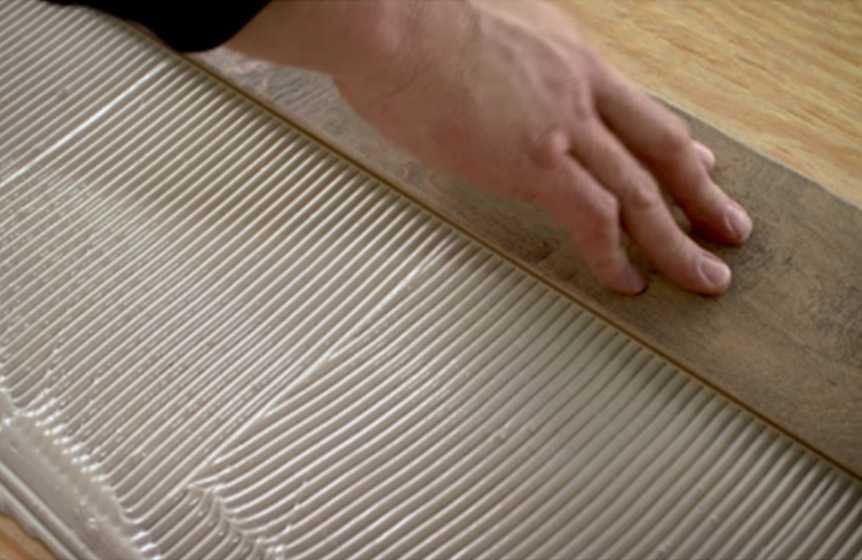
Once you’ve prepared the subfloor and planned your layout, it’s time to begin installing the engineered wood flooring. Adhere closely to the engineered wood flooring manufacturers‘ instructions, meticulously noting the recommended adhesive and installation method. Start by applying adhesive to the subfloor and laying the first row of planks along the reference line, ensuring a tight fit.
- Common Mistake to Avoid: Poor Installation Techniques Improper installation techniques, such as failing to stagger the joints between planks or using too much adhesive, can result in gaps, buckling, or uneven surfaces. Take your time and follow the recommended installation guidelines to achieve a professional finish.

Step 4: Finish and Maintain
Once the flooring is installed, take the time to finish and maintain it properly to ensure its longevity and beauty. Install trim or molding to cover expansion gaps and provide a finished look. Follow the manufacturer’s recommendations for cleaning and maintenance to keep your engineered wood flooring looking its best for years to come.
- Common Mistake to Avoid: Neglecting Maintenance Failure to properly care for your engineered wood flooring can result in scratches, stains, or damage over time. Be sure to regularly clean and maintain your flooring according to the manufacturer’s guidelines to preserve its appearance and performance.
Conclusion:
DIY engineered wood flooring installation can be a rewarding project that enhances the beauty and value of your home. By adhering to these steps and steering clear of typical errors, you can attain results that rival professional installation without the hefty price tag.
Through thorough preparation, meticulous planning, and unwavering attention to detail, you can revel in the enduring charm and resilience of engineered wood flooring for years to come.

